
Your WebStarts site can explain your service while Payhere collects the payment. Start with a button linked to a hosted payment page. If you prefer a form on the page itself, WebStarts also has an iframe embed route.
A dance school is a useful example: one button for monthly lessons, another for a block paid upfront. Each offer gets its own payment link, so customers can see exactly what they are buying.
Before you start
You need a Payhere account connected to Stripe, permission to edit and publish your WebStarts site, and a clear price and schedule. Check that your WebStarts account supports the embed option if you want to use it. The screenshots below are historical source images, not a recapture of the current editor.
1. Create and copy your payment link
Create a one-off link for a block of lessons or a recurring link for an ongoing membership. Include the lesson length, what each payment covers and your cancellation terms in the description. Save the link and copy its full address.
For a hosted payment page, you can set a success URL in the advanced settings to return customers to a thank-you page on your site. Explain the next step there, such as contacting the school to arrange a class. See payment link settings.
2. Choose a button or an embedded form
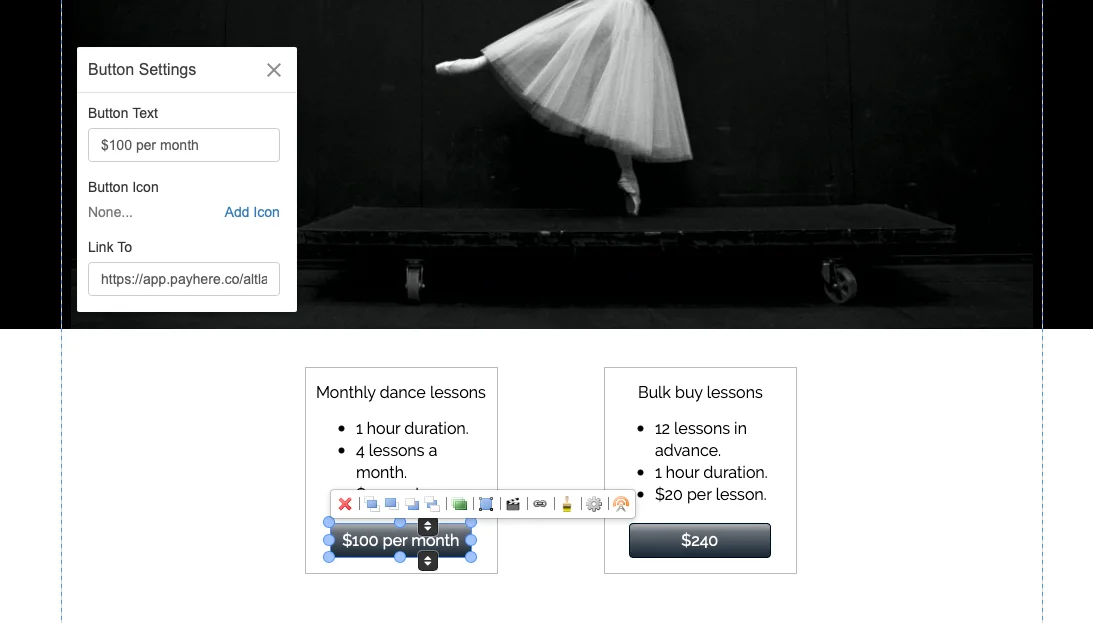
Button: add a button to your WebStarts page. In its link settings, paste the saved Payhere payment link. Use a specific label such as “Pay for monthly dance lessons”. Repeat with the correct link for any other offer.
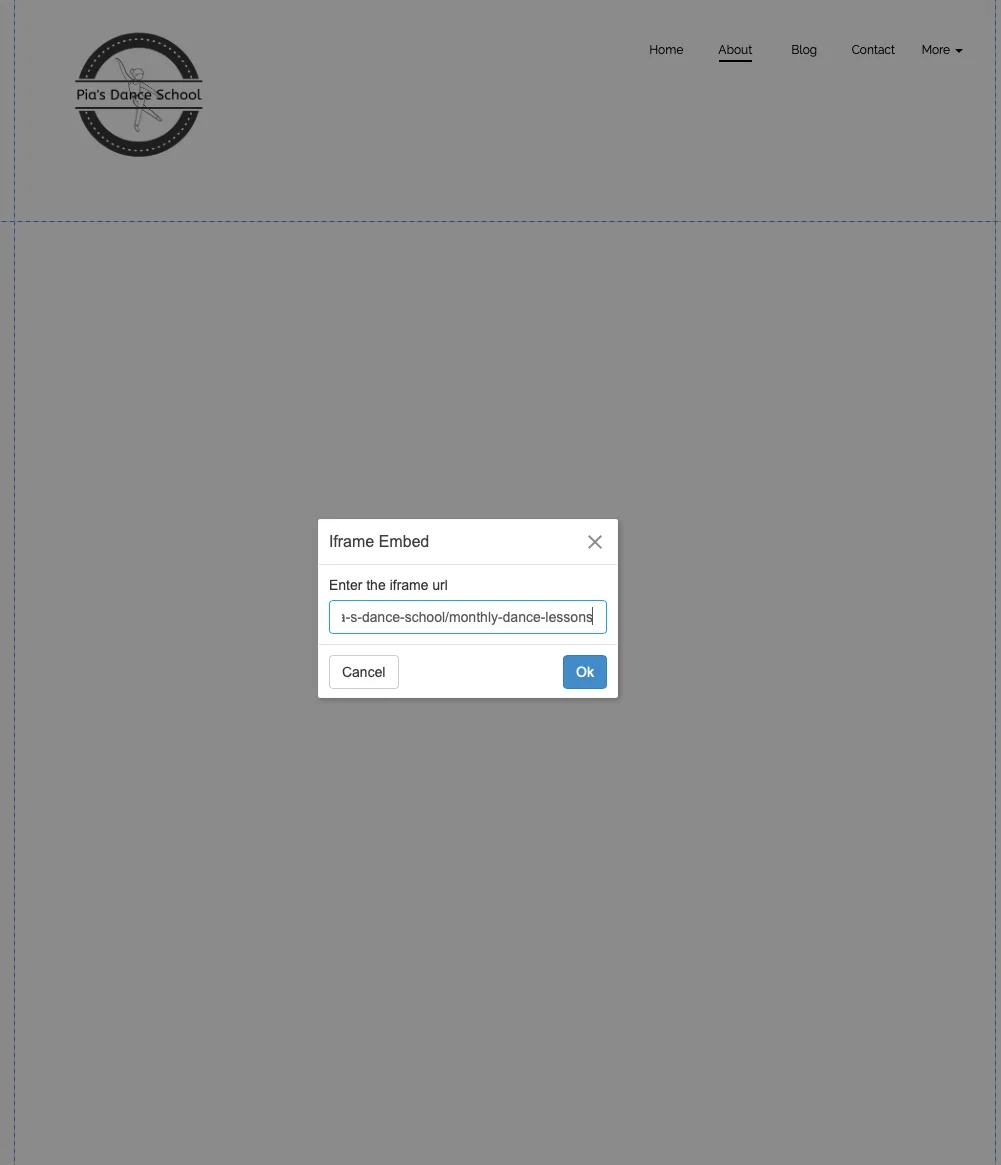
Embedded form: in WebStarts, look for the iframe embed element and enter the payment link address. Give the form enough vertical space so the payment fields and button are visible. A plain payment button is a useful fallback if the form does not fit your layout.
3. Publish and check the customer journey
Publish your WebStarts changes, then open the public page outside the editor. Check every button, the amount and currency, and the recurring schedule. On a phone, make sure an embedded form is not clipped or hidden behind another element.
If you use a success URL, check the destination too. A thank-you page should explain what happens next, not reveal private lesson material. Hiding a page from navigation does not protect it.
Troubleshooting and limits
- The button opens the wrong offer: replace its destination with the correct full payment link.
- The iframe is blank or too short: check the address and frame dimensions on the published site. Use the hosted link while you investigate.
- A customer needs a class booking: payment alone does not reserve a place in a separate scheduling system. Keep a booking process alongside it.
The WebStarts integration page includes the original walkthrough and video if you need more context.
Create a payment link for your WebStarts site