Site Builders
WixWebStartsApp Builders
BubbleGlide AppsTools
QwilrZoomGuides
Creating your Payhere StorefrontCreating coupons in PayherePayment Links- Advanced SettingsBilling- Create payment plans, minimum terms and free trialsCreating a one-off donation payment linkUsing custom fields to collect more informationCreating a recurring donation payment linkCreating a recurring payment linkCreating a one-off payment linkAccept Payments & Subscriptions using WebStarts with Payhere
Creating a website on WebStarts and need to integrate payments?
There are two ways that this can be easily done.
1. Link via a button
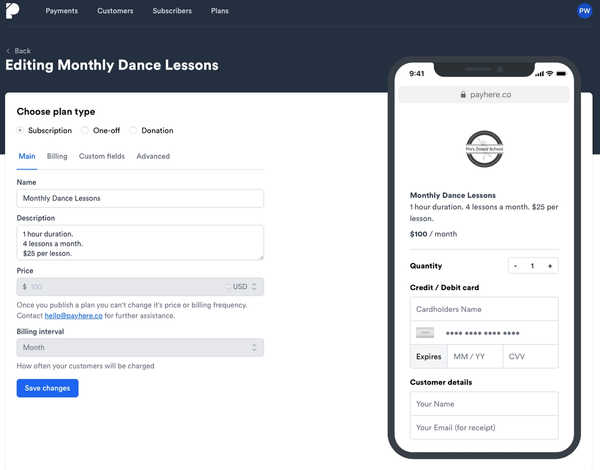
First sign up and create a plan on Payhere. For this example we have used a dance school that wants to charge monthly for dance lessons.
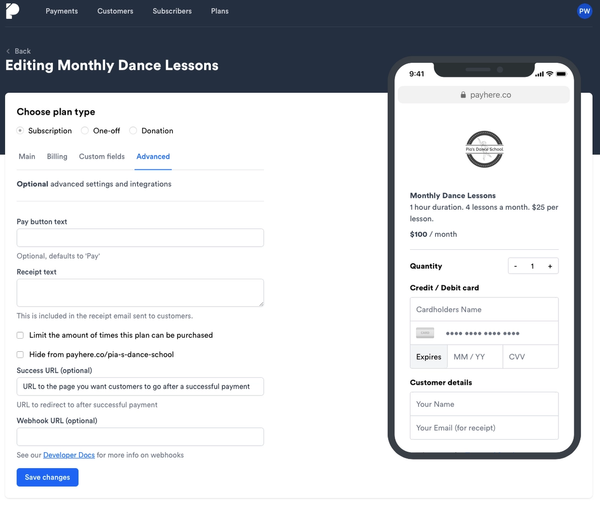
Also at this stage you will need to add the link to where you want your customer directed after a successful purchase (this is under the advanced tab in our plan builder). In this case, we want the user to be directed back to your website to be displayed a message.
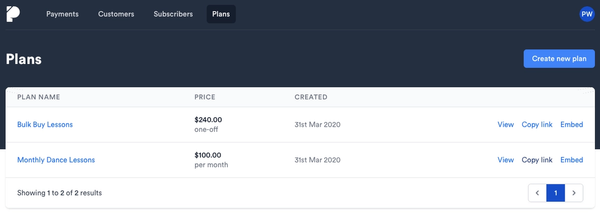
Once your plan is saved you will need to copy the URL of the page we have created for you (simply click copy link).
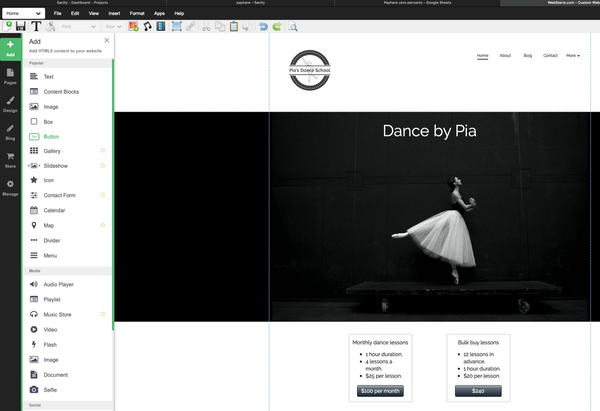
Now back to the WebStarts platform, once on your website, add a button and place on the page.
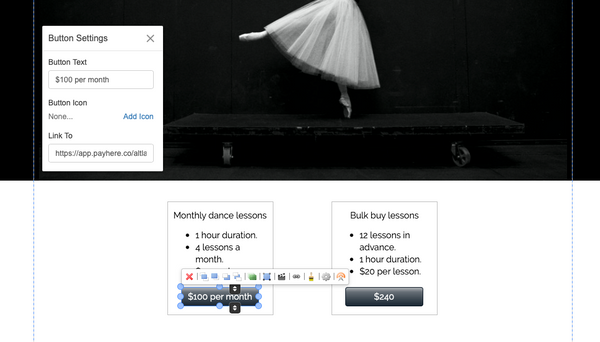
Within the button settings you can then add the link to the plan that we created for you in Payhere.
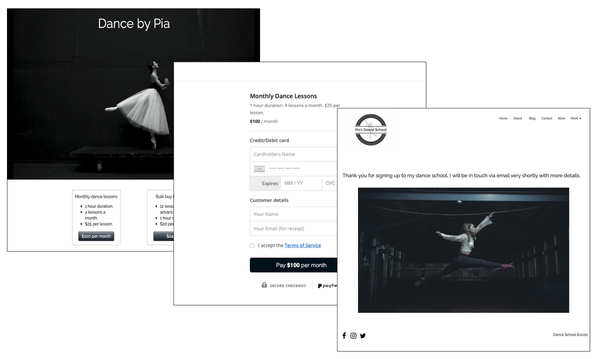
Once the site is published, your customers will be able to pay for your services.
2. Iframe Embed
Within the WebStarts platform, click on add and scroll down to the bottom and select iFrame Embed. You will then simply paste the URL of your payment plan from Payhere into the box.
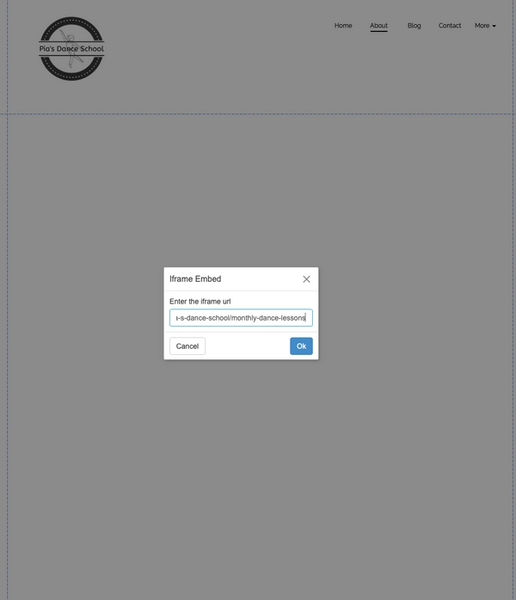
You will then have the payment form directly on your website. You can link a button on your website to this particular page or even have this as your pricing/ payment page. If you are choosing this option you will not need to have a URL pasted into the Success URL box as shown in option 1.